
Magic Testimonials Display App provide a simple but powerful dashboard for monitoring your incoming testimonials. This guide discusses how it all works.
Firstly, open the testimonials page.
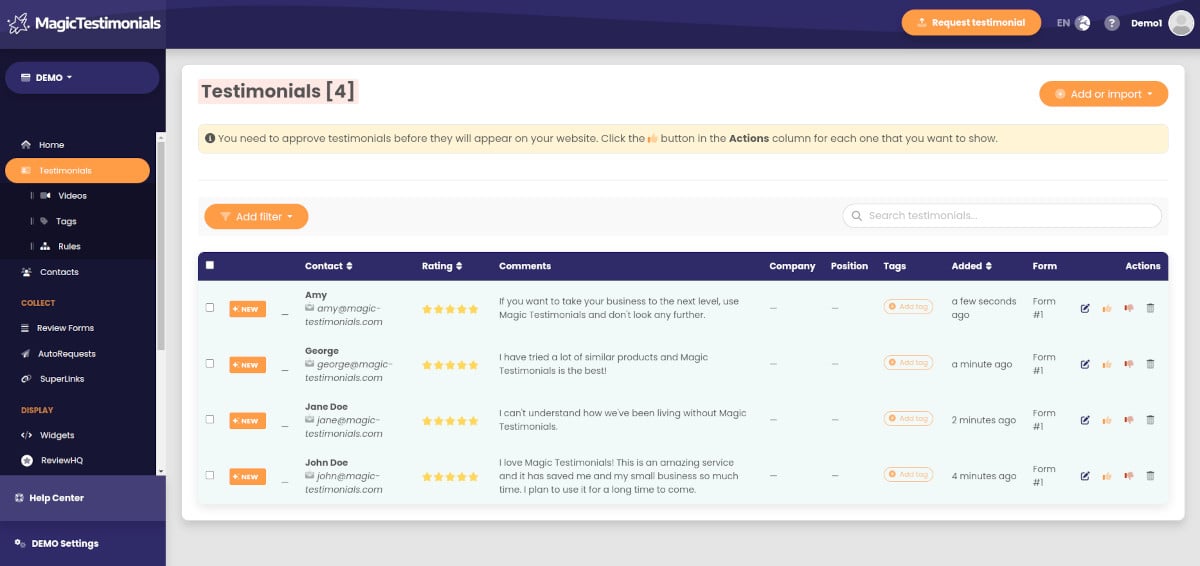
All new testimonials will appear at the top of your list until they’ve been approved, rejected or deleted.

You’ll notice these buttons in the “Actions” column (edit, approve, reject, delete). They are used to perform corresponding actions on individual testimonials.
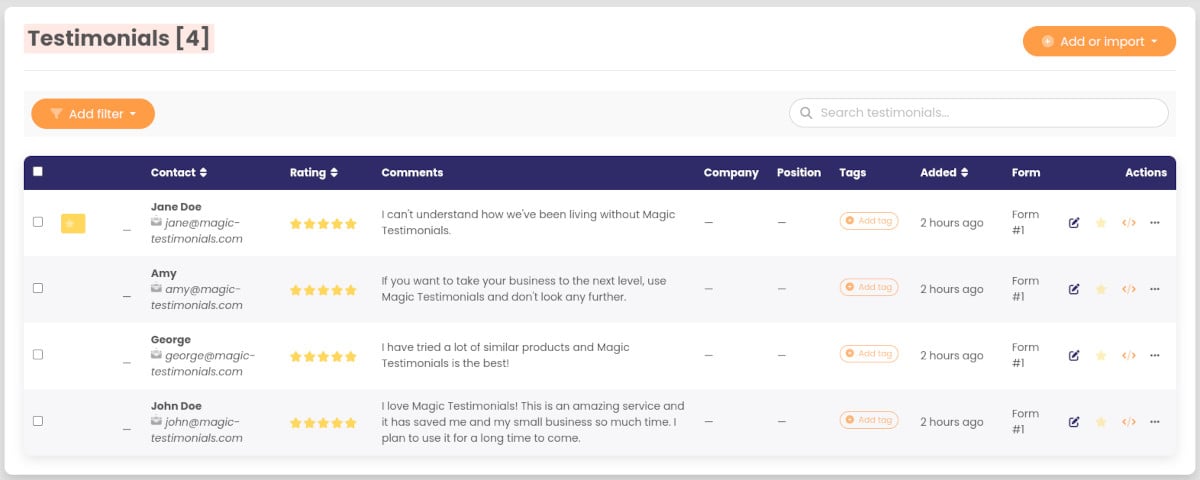
Once a testimonial has been approved, the action buttons change to the following (edit, feature, embed, more):

Most of the actions are self-explanatory, however I’ll go into detail for the edit, feature and embed options:
Edit testimonial #
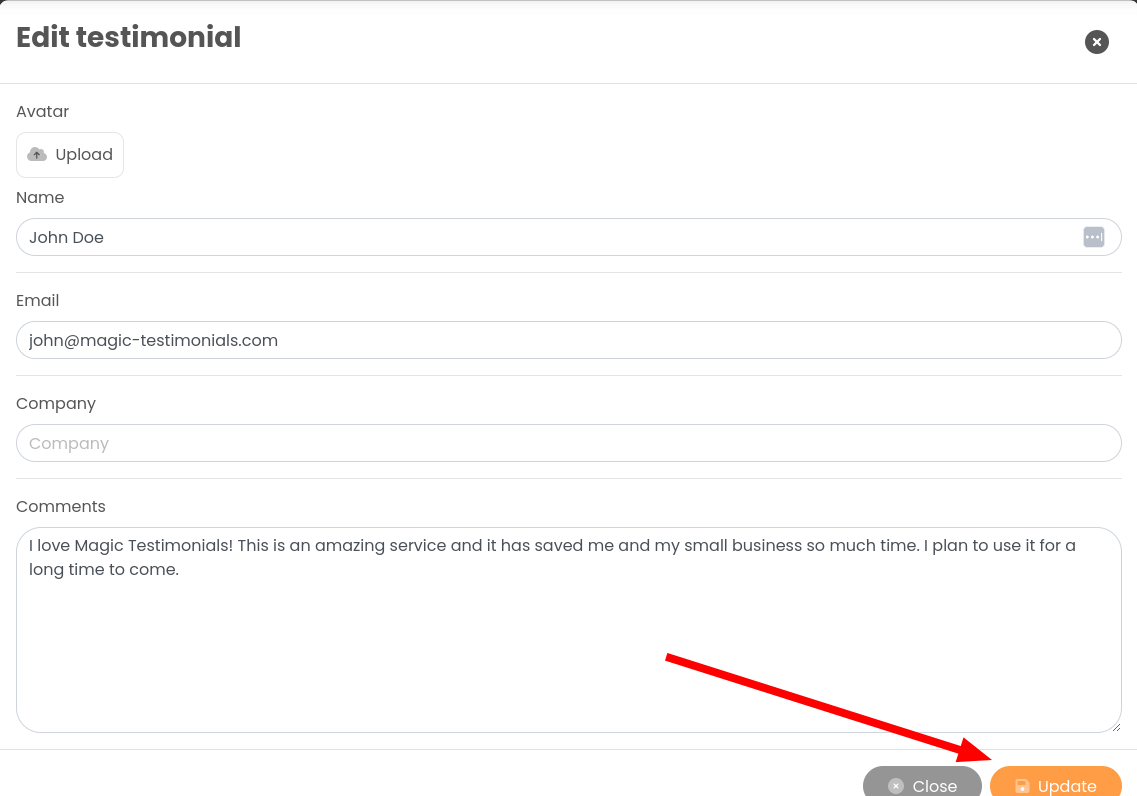
Clicking on the “Edit” icon brings up the testimonial editor. Here you can edit most fields (rating is excluded) in order to correct spelling mistakes or upload a new avatar. When you make the changes, click the “Update” button.
Featured testimonials #
By clicking on the “Feature” icon (star), you can set a testimonial to featured status. This essentially pushes the testimonial to the top of the list and will be displayed first on your widgets.
Embed testimonial #
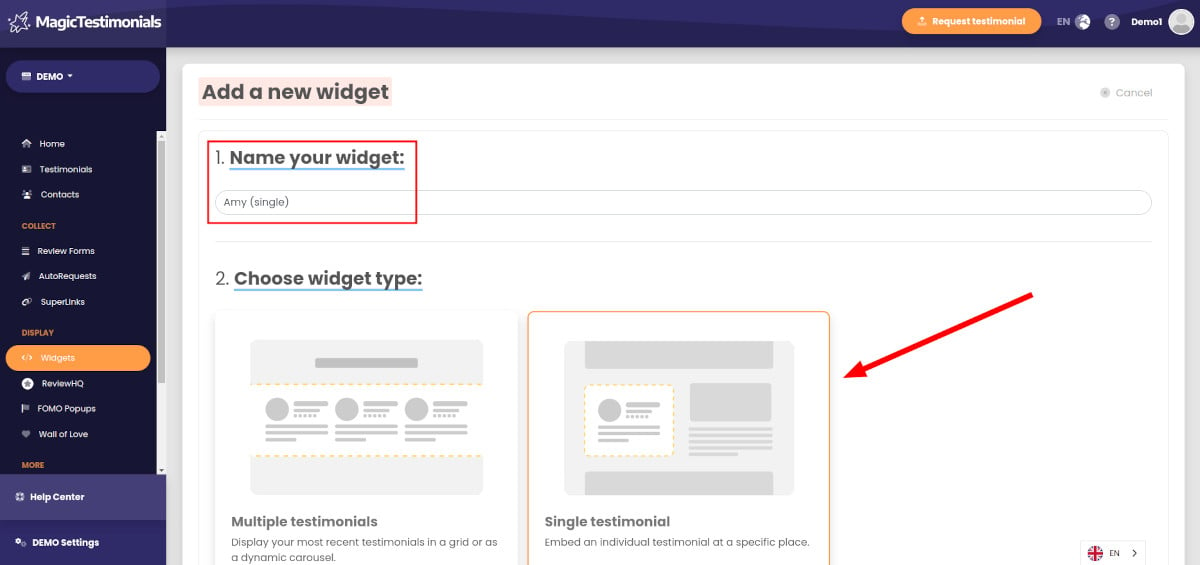
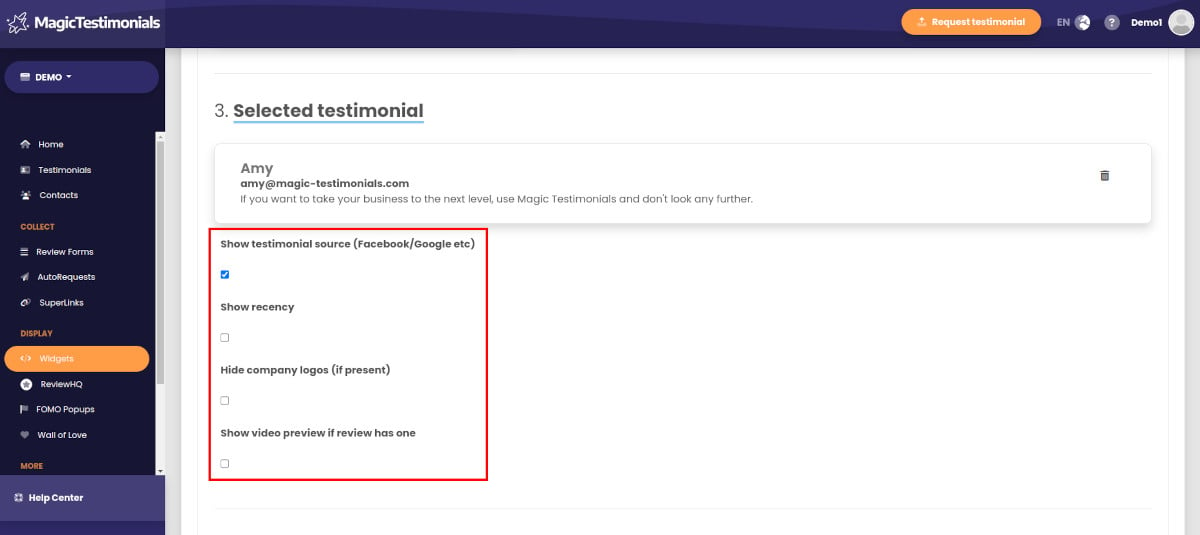
Clicking the “Embed” icon will allow you to create a new widget that displays only selected testimonial. This is a powerful feature for when you have a specific testimonial in mind for a part of your website, and a great tool for increasing conversions.
Name your widget and select the single testimonial widget type.
Style the testimonial appearance to suit your brand. Change the settings and colors as you see fit.
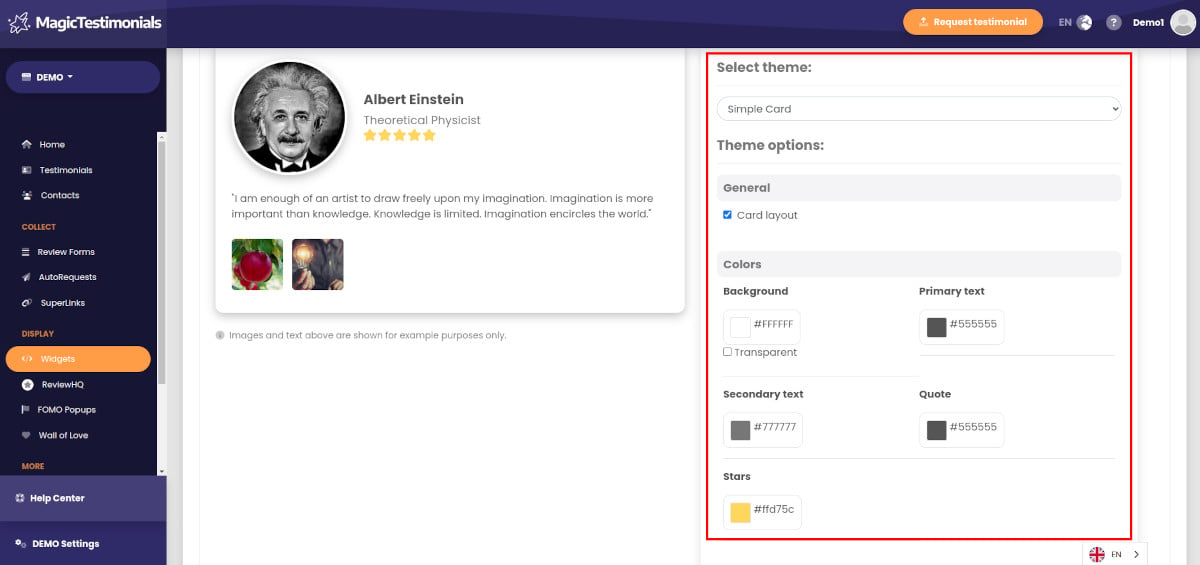
Once you’re happy with the appearance, click the “Create widget” button. This will activate it and reveal the unique embed code required to make it display on your website.
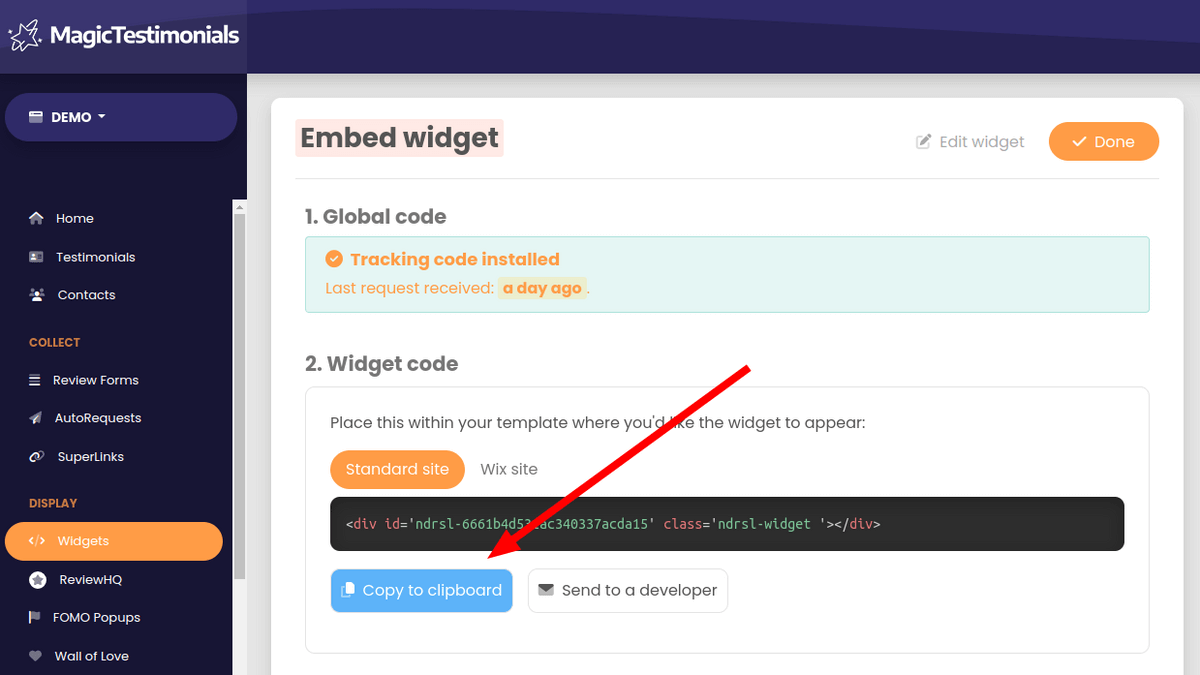
First, make sure that your global tracking code is installed.
Then click “Copy to clipboard” and paste the code on your website where you’d like the widget to appear. After doing that, click the “Done” button.


