
This guide will take you through the steps required to set up your Review Form.
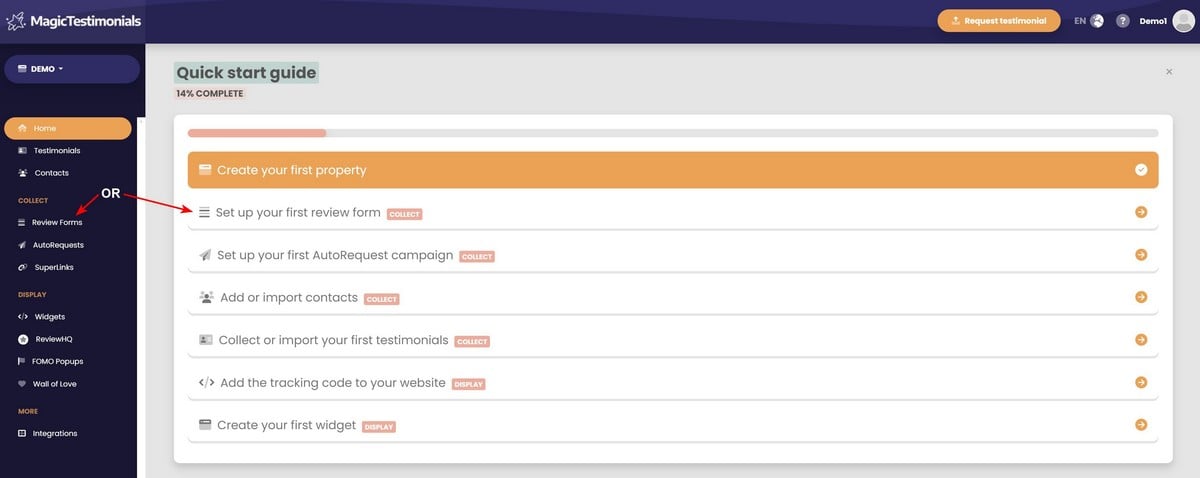
First, go to the Review Forms page. You can open it if you click on “Review Forms” in sidebar or on “Set up your first review form“.
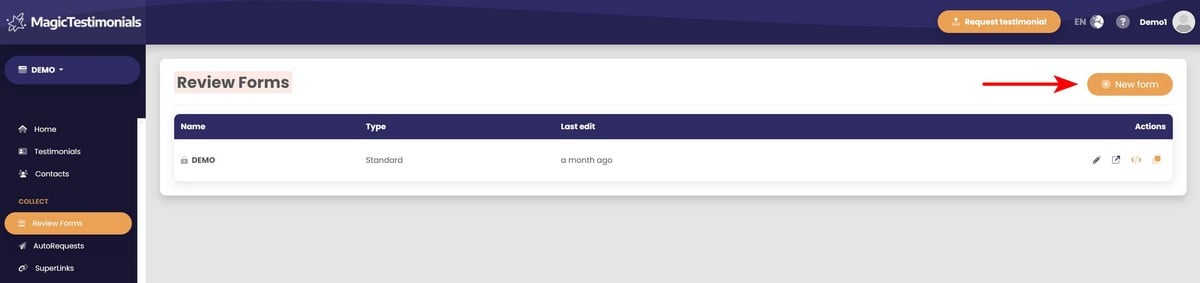
Click on the “New form” button.
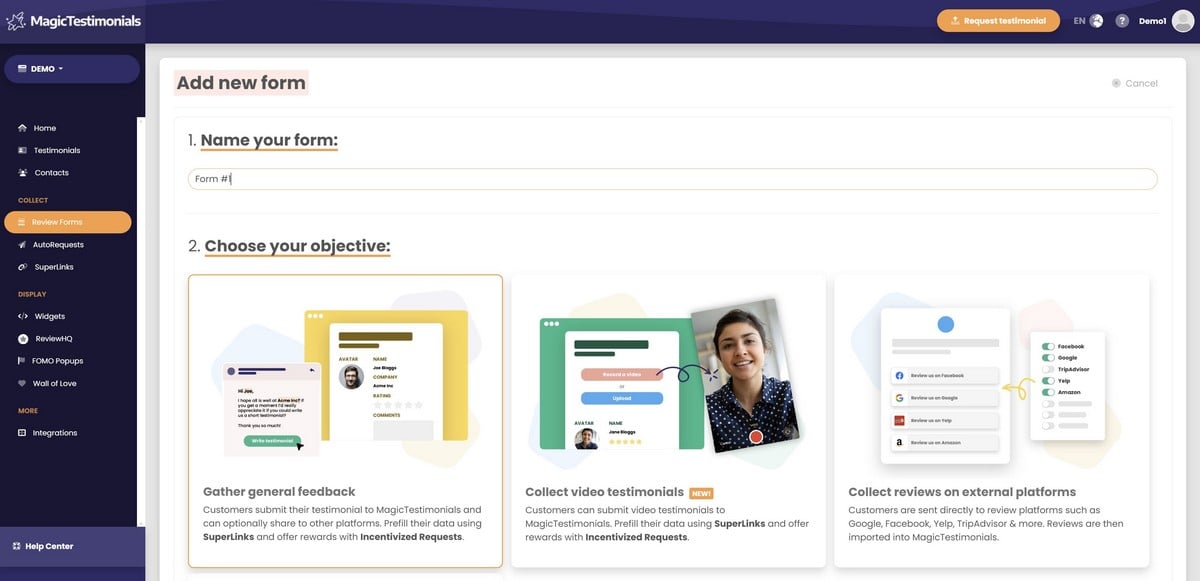
Enter the name of your form and choose your objective. You can choose between general feedback, video testimonials, and reviews on external platforms.
In this article we’re going to set up the Review Form for the general feedback, so we’ll select “Gather general feedback“. If you want to collect video testimonials you should select “Collect video testimonials” or if you want to import reviews from external platforms such as Google, Facebook, Yelp & more, select “Collect reviews on external platforms“.
When you entered the name of your form and chose your objective, click on the “Create form” button.
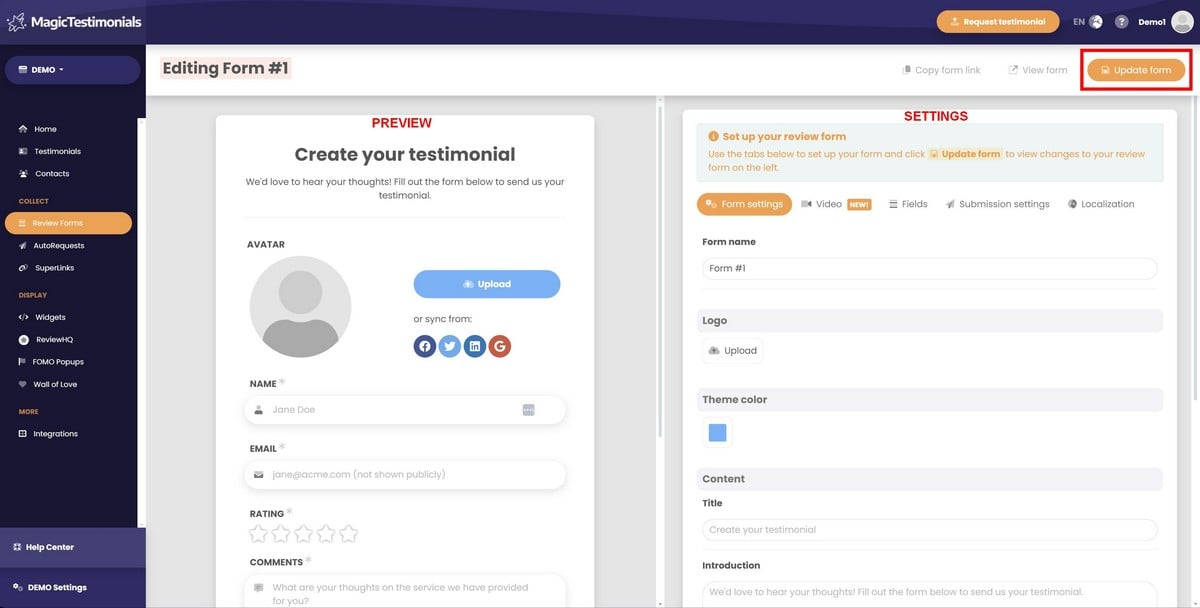
After that, your form will be opened in edit mode. On the left side you’ll see the preview of your form*, and on the right side you’ll see it’s settings.
*When you change the settings and you want to see the latest preview of your form, you have to click on the “Update form” button before that.
Form settings tab #
This tab allows you to create the look and feel of your Review Form, including:
- Logo
- Theme color
- Introduction content
- Consent
- Avatar syncing (customers can pull through social media avatars in a few clicks)
- Custom domains (host the form on your own website)
Logo #
Click on the “Upload” button and select your logo image.

Theme color #
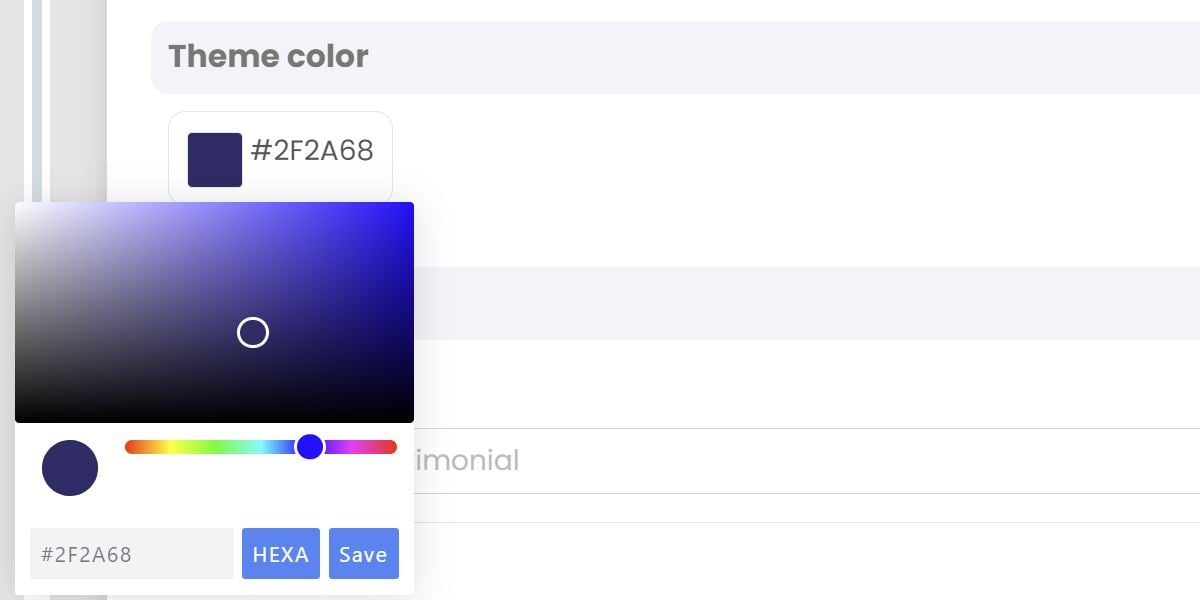
Click on the default color and pick the one you like. Click Save.
Introduction content #
Here you can add the title and introduction text of your Review Form.
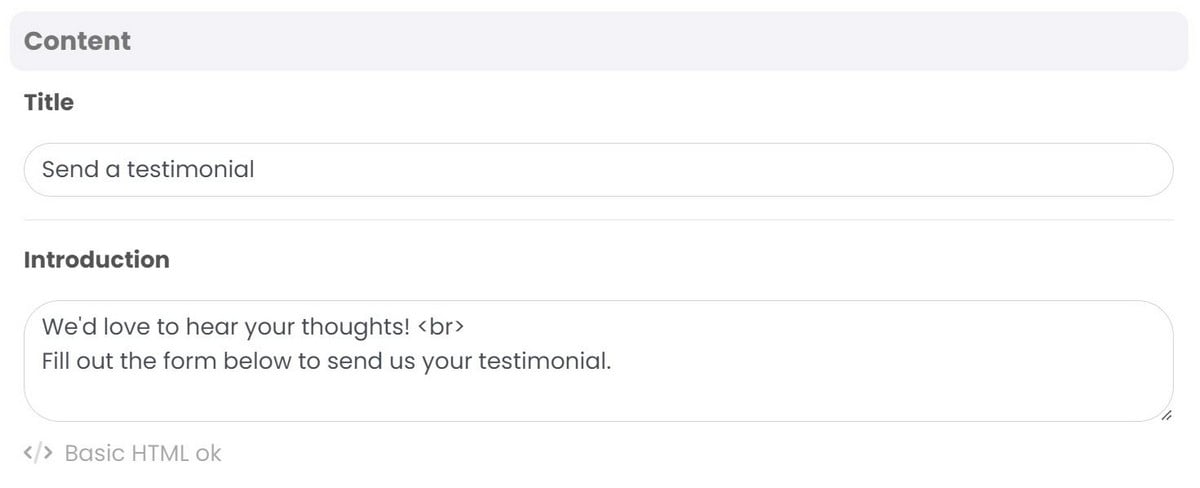
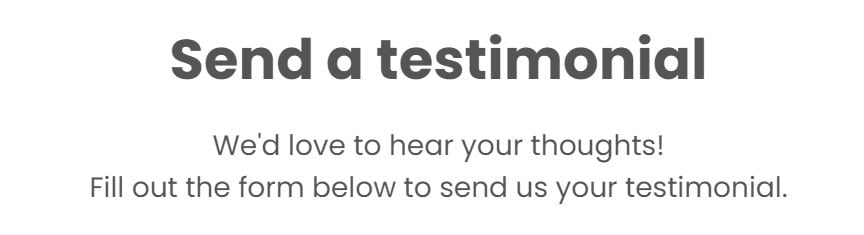
*You can use basic HTML. In this case we used <br>, which is a “line break” tag, i.e. show the sentence after the <br> tag in the next row. Here’s the result:
Consent #
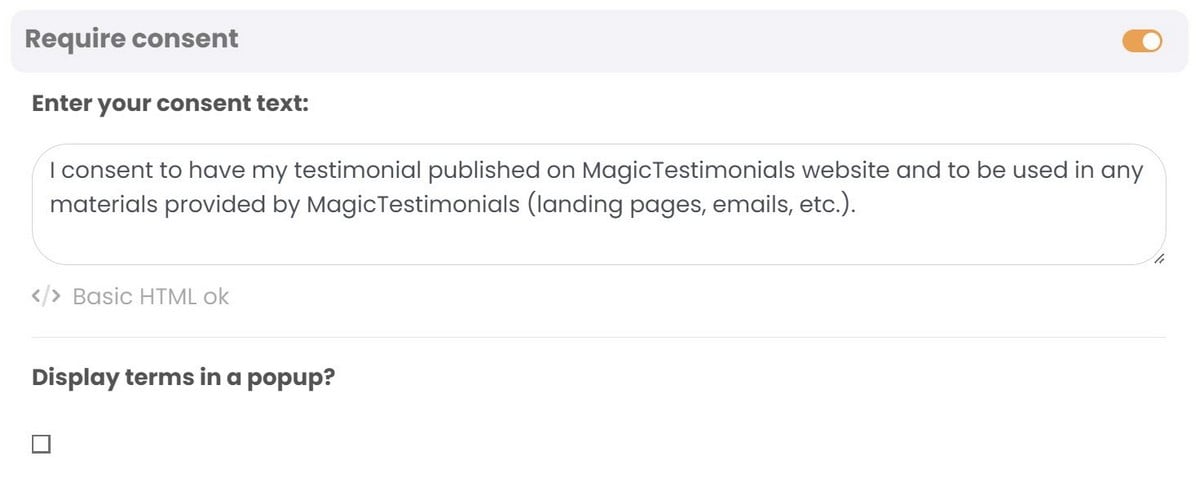
You can enable this feature if you want or you’re required to collect consents (GDPR) to use testimonials customers sent you.
Avatar syncing #
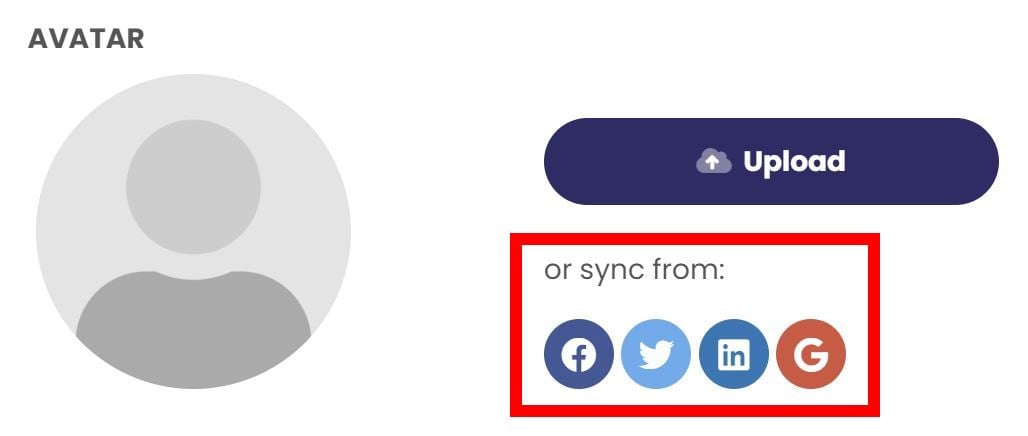
You can enable this feature if you want to give your customers an option to pull their social media avatar in case they don’t have an image to upload.

This is what it looks like if you enable this feature:
Custom domain #
If you want to host this form on your own subdomain, you have to set it up first. We have a separate help article which explains how to do that.

Video tab #
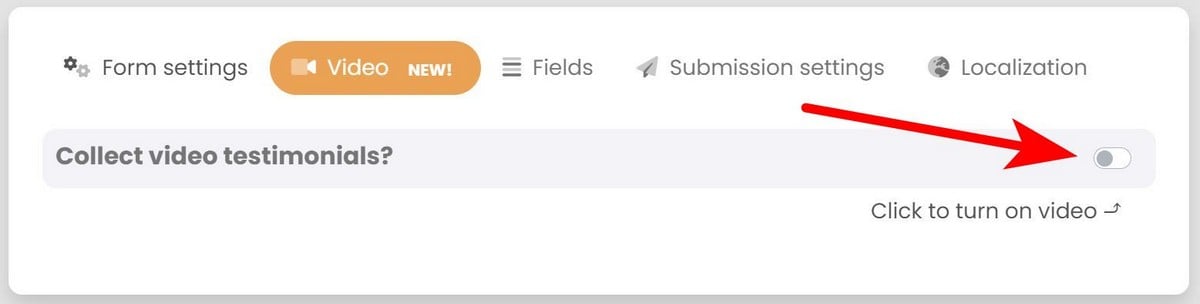
In this case, we won’t use this feature, but if you want to use it, you have to enable it.
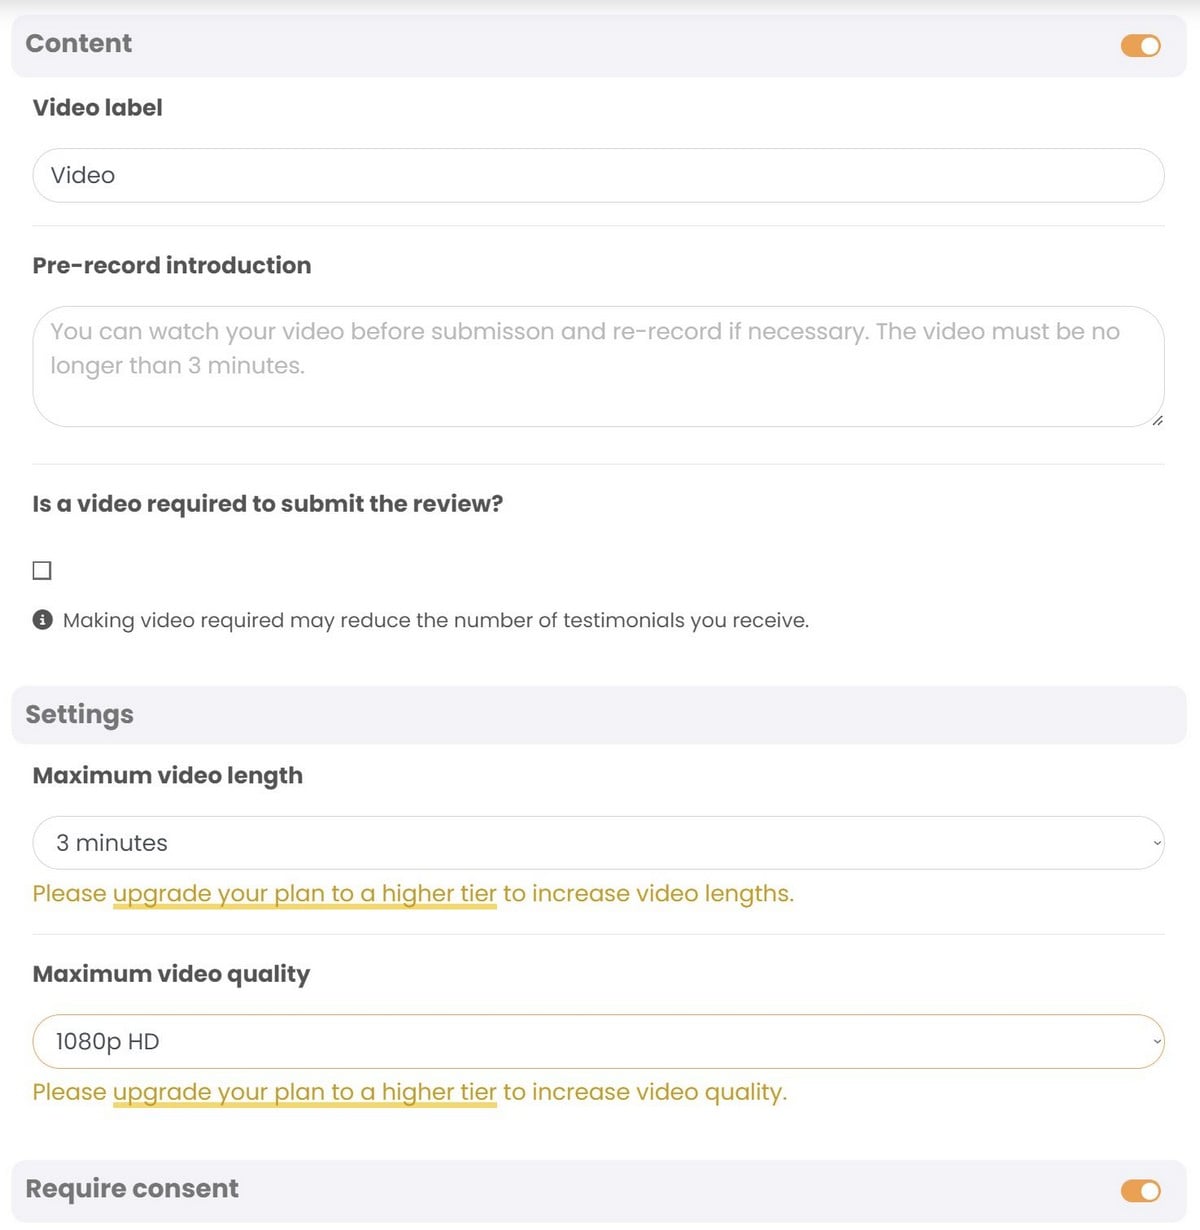
If you enable this feature, you’ll be able to add the video label and pre-record introduction, select if the video or consent are required, and change maximum video length and quality.
Fields tab #
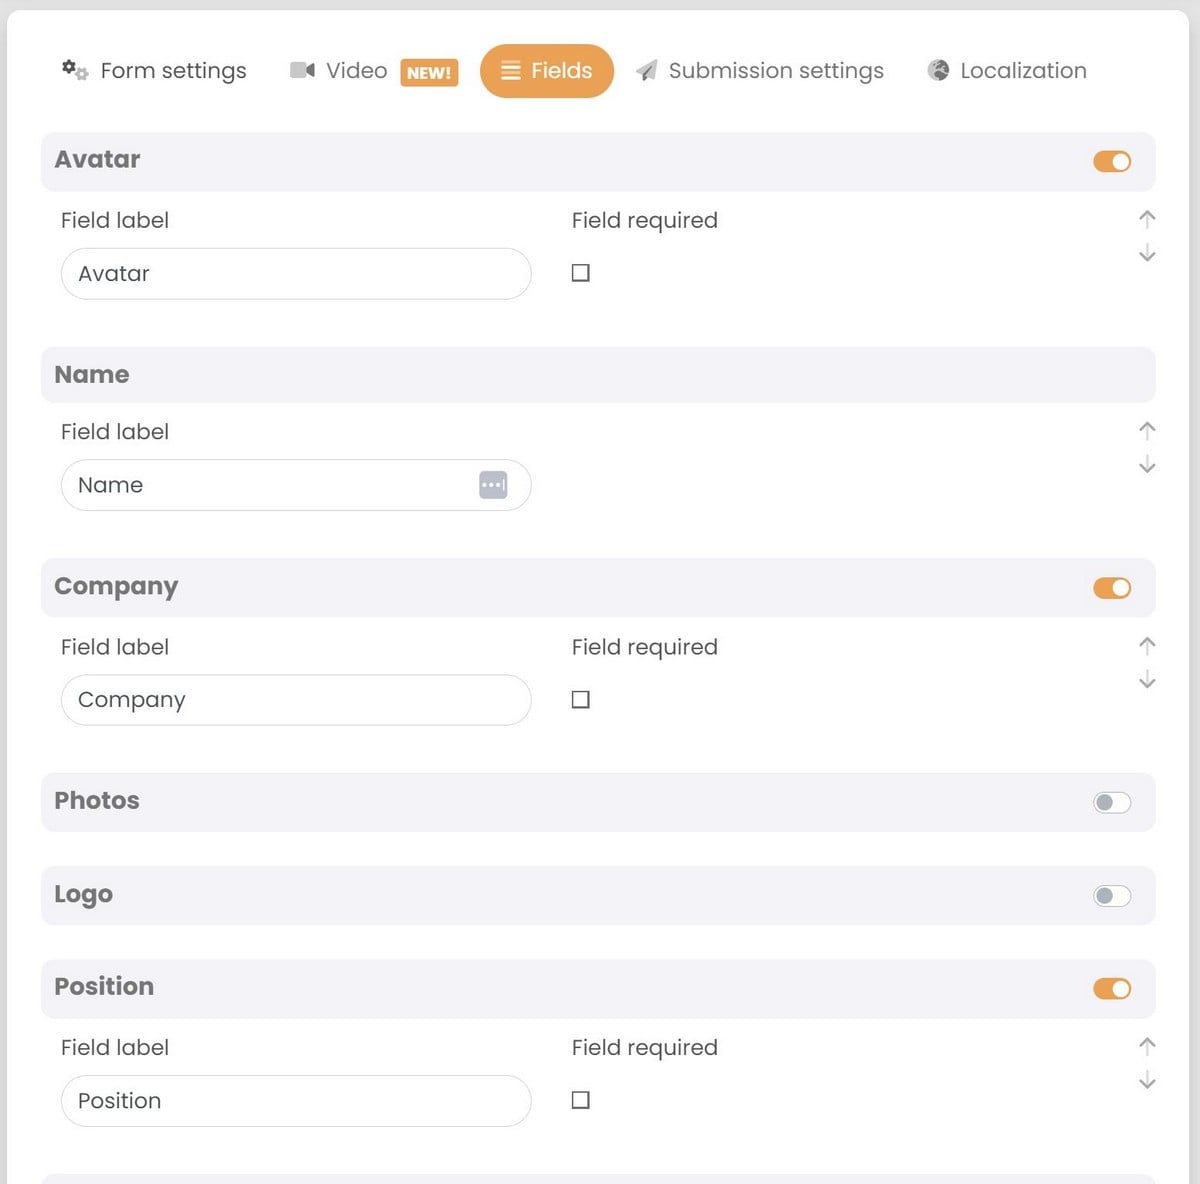
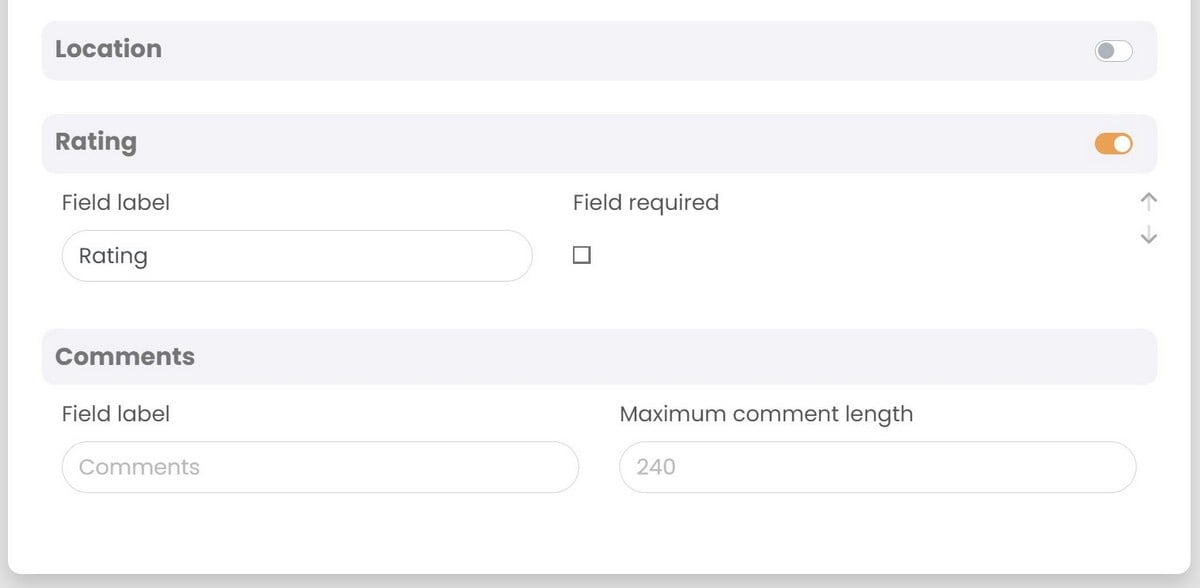
On this tab, you can enable and disable the fields, change the field labels, select which fields are required, and rearrange the fields.
Submission settings tab #
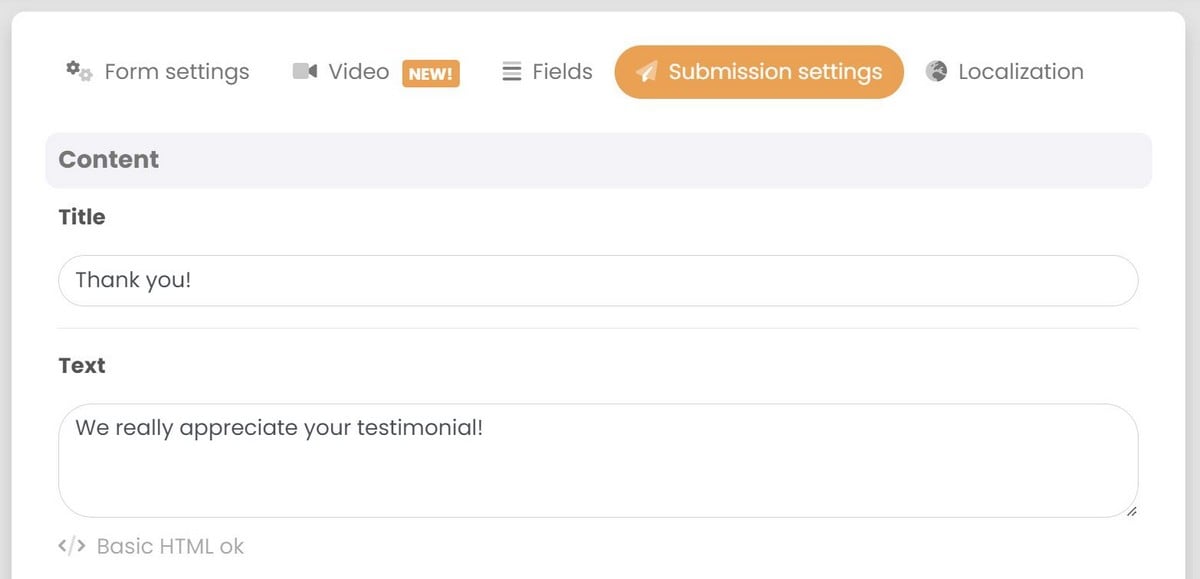
This tab allows you to choose what happens after a customer sends their testimonial. First, you can edit the text that’s displayed.
After that, you can explore the following powerful features:
Publish to other services #
You have the option to send customers to other platforms in order to post the same review. Simply turn a platform on and paste the link to your review page.
On the live form, your customers’ comments are automatically copied to the clipboard and they are given instructions to post the corresponding review.
We support these platforms by default:
- Facebook Pages
- Google My Business
- Yelp
- Trustpilot
- TripAdvisor
- Capterra
- G2
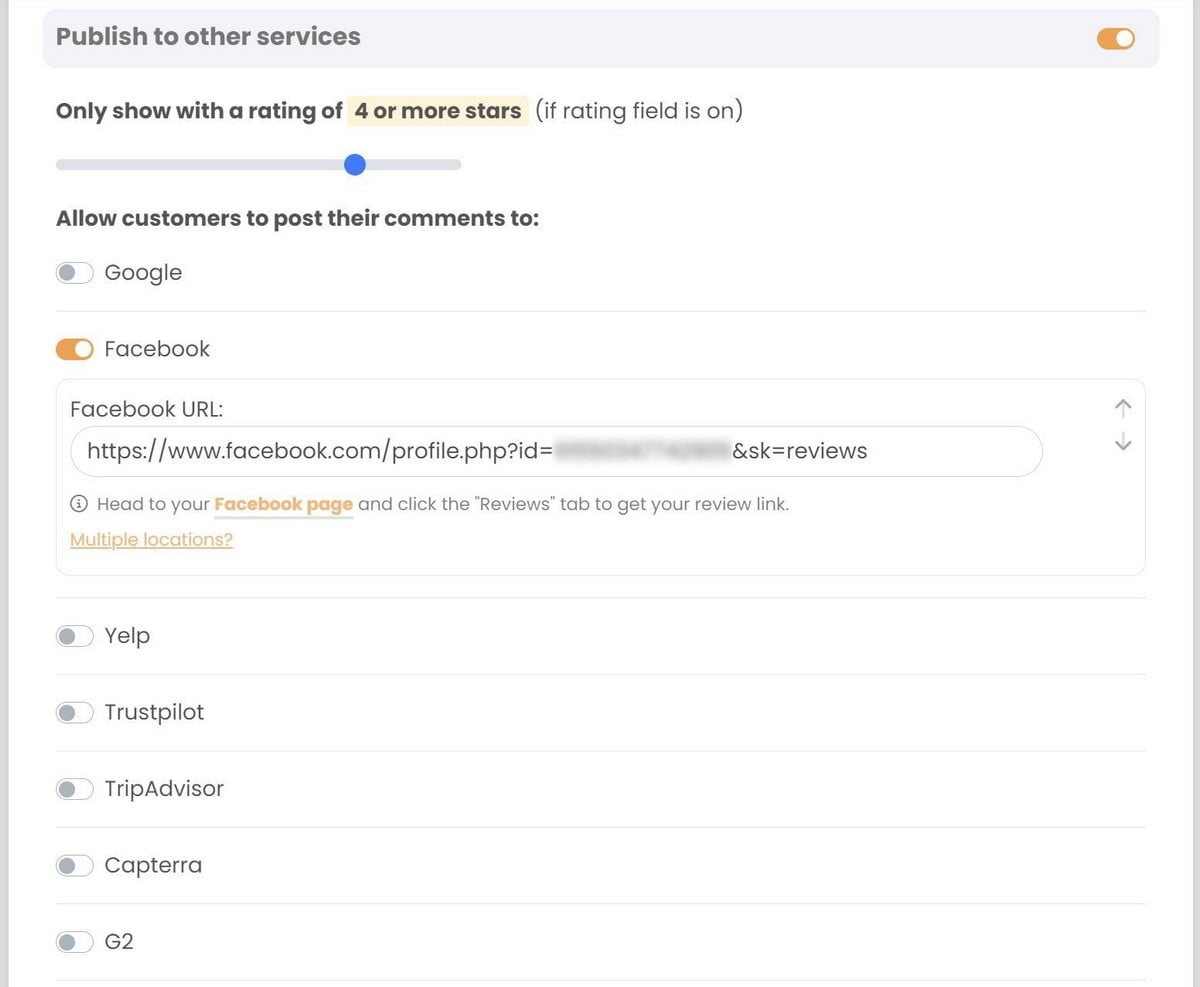
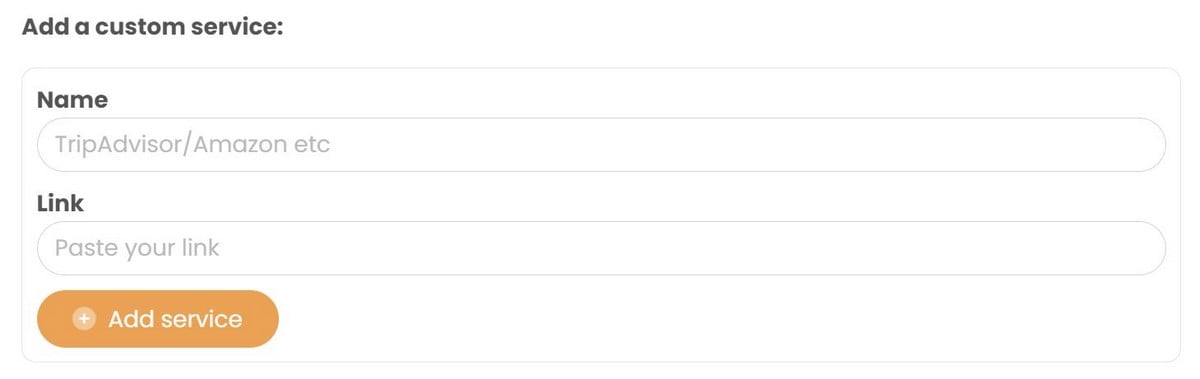
And you can add any other platform you like, using the “Add a custom service” section.
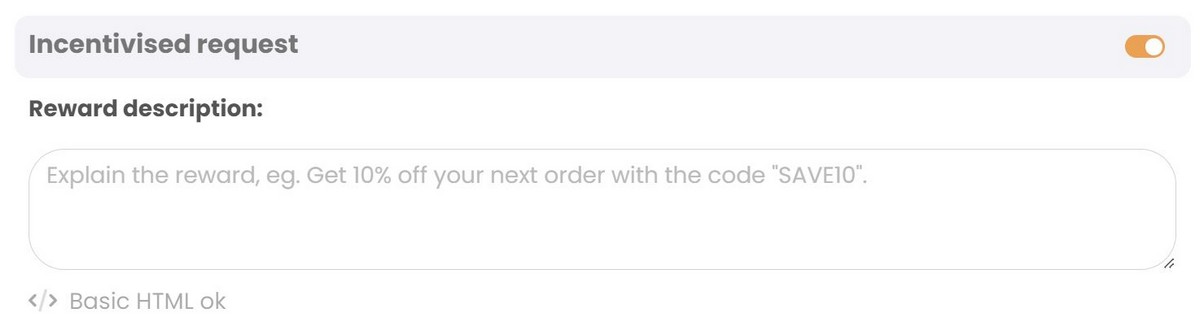
Incentivised request #
Reward your customers for leaving their testimonial by adding an incentivised request. Here you can specifiy the reward, be it a discount code or unique link to a reward page.
On the live form, the reward will be displayed only once the testimonial has been sent.
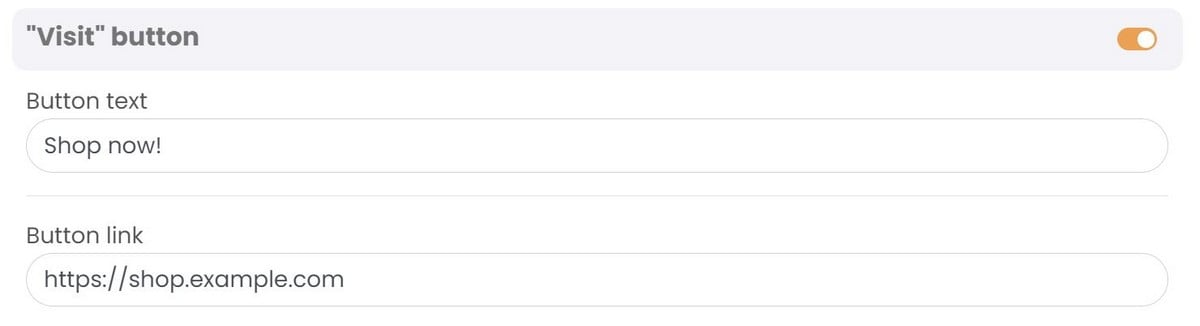
Visit button #
Create a button to send your users to a destination of your choice after leaving their review. A great way to drive engaged customers back to your site.
Localization #
Your Review Form can be automatically translated into any language using the “Localization” tab.
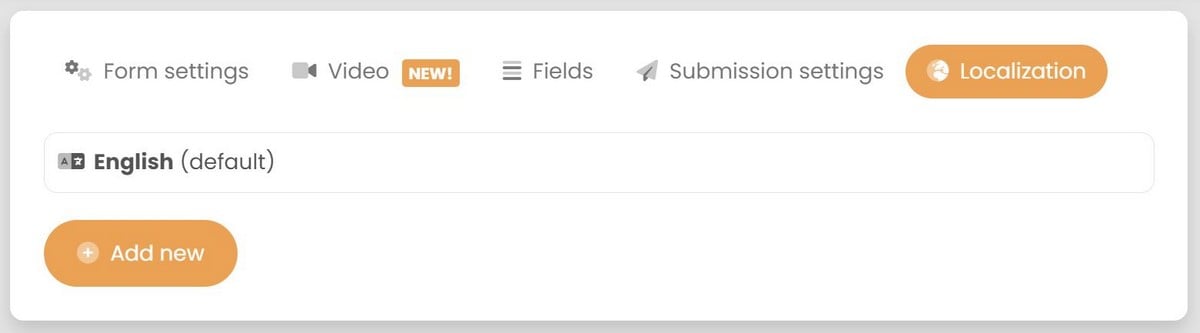
Tap “Add new“, then select a language from the dropdown. Every piece of text on the Review Form is displayed along with auto-generated translations.
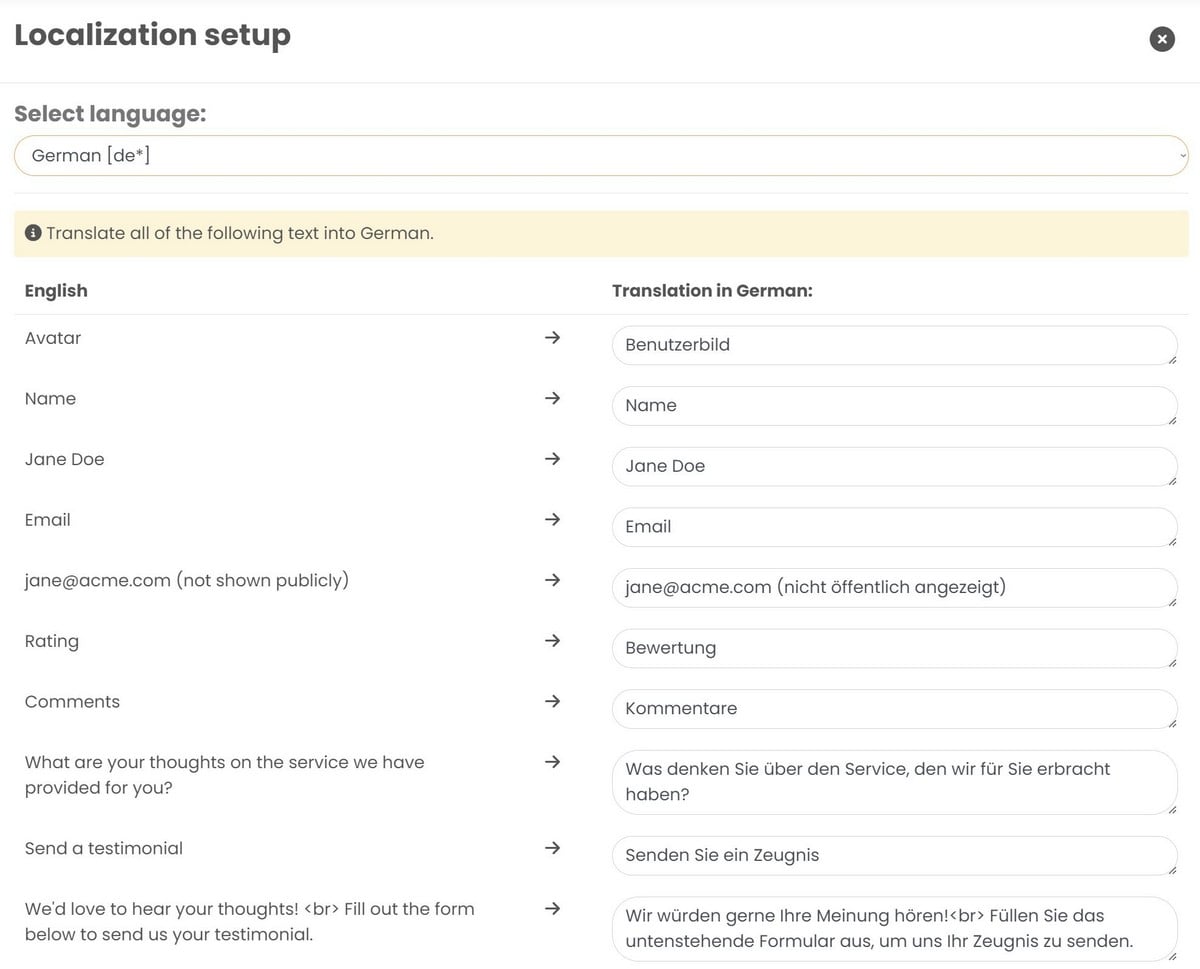
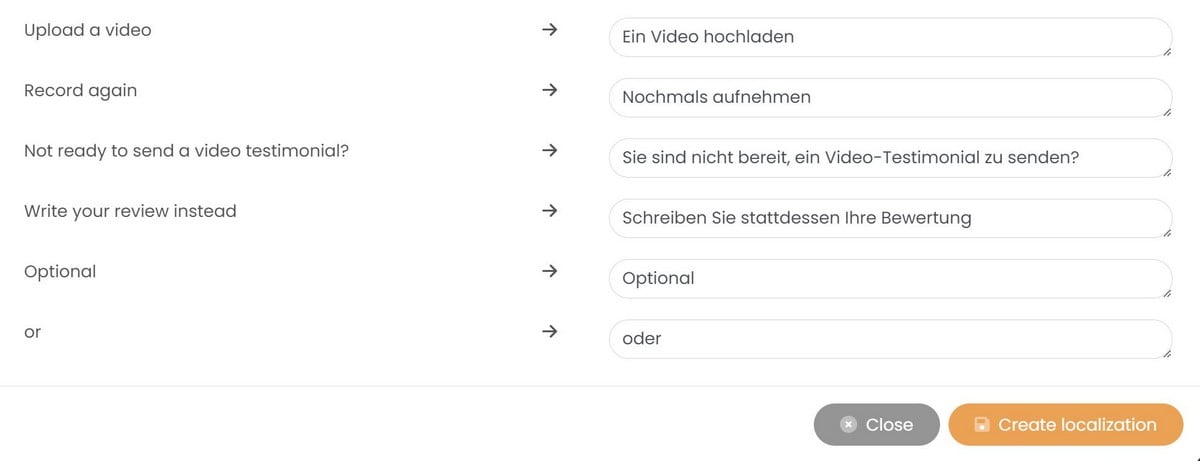
You can edit the translations to anything you like. Once you’ve finished, tap “Create localization“.
Now when a user views your live Review Form, if their browser language matches the localization you’ve created, the form will automatically display in their language. To force a particular language, simply append “?lang=lc” where lc is the language code that represents your chosen localization. For example:
- German: ?lang=de
- French: ?lang=fr
- Spanish: ?lang=es
Finishing and viewing your Review Form #
Once you’re happy with your Review Form, click the “Update form” button at the top right to save your changes. The form preview on the left hand side will be updated to the latest version of the form.
To view your live form, click “View form” — this will open your Review Form in a new tab.
Congratulations, your Review Form is now complete!


